 1 1 |
 2 2 |
 3 3 |
 4 4 |
 5 5 |
 6 6 |
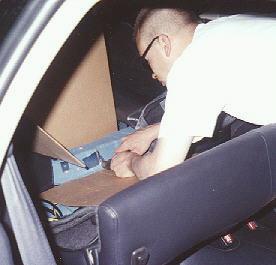
The poor CD Changer just didn't seem to want to go in the car. Seems like everywhere I wanted to put it, there was something wrong with that location. I tried to design it into the center console. No go - air bag controller in the way. I thought about putting it in the way-back hatch area, on one of the sides. No go - was too big to fit vertically, wouldn't be able to get the magazines in and out. Didn't want to put it horizontally because it would have interfered with the box design, and didn't want it out in the middle of the back area for space considerations. Glove box was out of the question because it was the only place to store anything, no pockets in this car. I decided I wanted it behind the rear seats, with the amps. Well, even that later turned into an almost-didn't-happen place...
Once we got the amps in the back seats, there wasn't enough room for the changer to fit - it was too deep front to back. It would have fit perfectly if it didn't have part of it protruding out the back side for plugging in cables. We though about removing that piece and just remote mounting it but that turned out to not be feasible because of the way it was wired.
So, out came the plasma cutter... Tommy cut out a piece of the car that was in the way - part of the piece that connects the left and right suspension. I was very hesitant to cut this piece for fear of weakening the car but was reassured that there would be no negative impact, we were only taking out a small piece. So out came that piece and the changer fit snugly - perfectly! Hey, it had to anyway, right? This was the factory changer location.
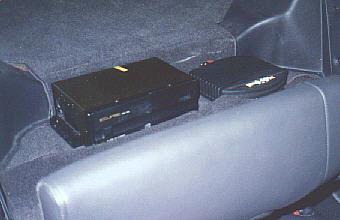
The changer was mounted using its own brackets and the Rockford Fosgate Punch 40ix was mounted right beside it. This is in charge of giving the rear speakers what little signal they receive.
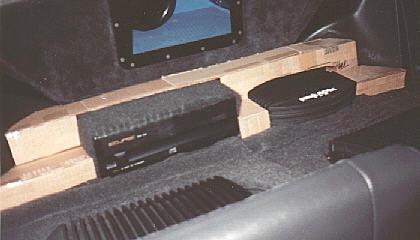
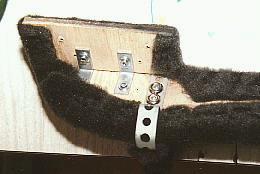
I later added the finishing touch to the amp/changer area by building a piece that went over and around the changer and 40 in a step style. As with everything else in the car, I built it first with cardboard for a template (picture 3). Once I had that fitting the way I liked it, I built the actual piece with 3/8" plywood, and angle brackets to assemble the puzzle of 10 pieces together into a single unit (picture 4). I then covered it with carpet.
Later when I added the black lights, I added the custom brackets (picture 5) to hold them. These brackets are also carpeted and hold a plastic pop-bracket which the light attaches to. There are elastic straps around the light and connected to the bracket - should the light pop free, it won't go anywhere, it'll just stay put.
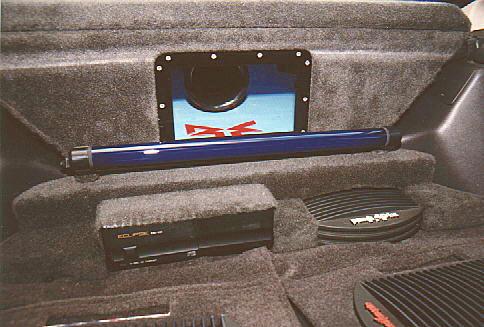
Picture 6 shows the final product of the amp area with the finishing piece in place over the changer and 40. Looks a WORLD better than it did without that piece. I was very happy once I got that simple piece done. And there is about a finger's width of space above the amp for circulation (not that it really needs any - it's barely on!). You can also peek into the box, which is covered in the next section.

