 1 1 |
 2 2 |
 3 3 |
 4 4 |
 5 5 |
 6 6 |
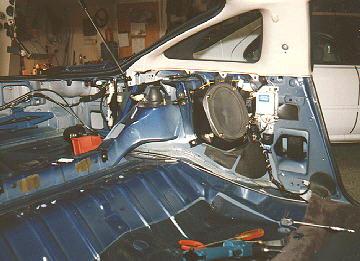
The top picture shows the rear area, notice the factory 6x9 rear speaker - last you'll see of that... Also the rear suspension brace coming down from the top of the strut tower and across to the other side. No real need for a strut support bar back there.
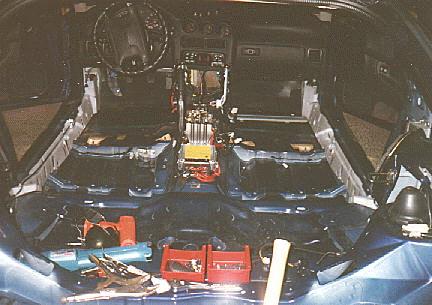
Second picture is a shot from the rear after a good portion of the insides have been removed. For my fellow S3 owners, this is what it looks like buck-nekkid on the inside! Notice the silver/yellow box right in the middle. Well, my initial design ideas had the CD-changer being customized into the center console. Heh. During the design phase, I took the center console out (all of 4 screws) to see if it was feasible. Uhhhh... What the... Found about 6 warning stickers of various things on a little silver box with a bunch of cables coming out of it. Hmmm... Damn. Turns out that is the central control for the driver-side airbag. Oh well...
Third picture is the door with all the plastic lining removed, and most everything else gone too. The big white piece in the lower/front corner is the factory speaker adapter. The hole in the metal is a weird square-ish shape and that plastic piece allows you to easily mount the speaker. Factory size was a 6". Some aftermarket drivers will drop in, but I've done mine and a friend's with aftermarket speakers. Mine there was no was it was gonna get used, had whole door pods deisgned. Friend's, well, had to cut a plate from 1/16" sheet metal to fit the hole and mount the speaker.
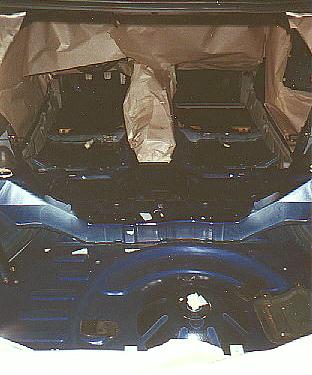
To get the car ready for applying the NoiseKiller sound deadener, everything had to be covered. And I mean everything. Since the NoiseKiller is a spray-apply material, this step of the process was kinda the exact reverse of preparing a car for painting. Basically, everything that was a visible portion of the car had to be covered to prevent overspray onto something that might be seen.
There are obvious places where the material can be seen - under the hatch floor where the spare primarily. There are no body panels under the spare so the material can be seen and felt there.
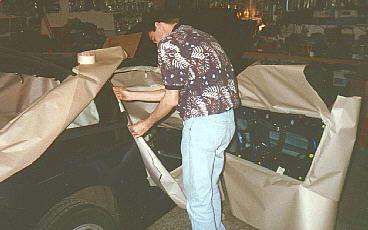
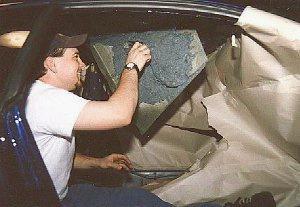
Picture 4 shows applying paper and masking tape to the front portion of the car (that's me!). The next shows more of the interior. Since the dash was not being removed, it had to be completely protected to prevent spraying onto the vinyl up front. All of the plugs that went into little computer boxes were covered with tape.
The last picture shows the roof padding being removed. There was a big sheet of jute material stuck to the roof of the car. Once the sound deadening had been applied, a new piece was added to replace the factory one.
These pictures aren't the end of it either. (Ya ain't seen nuttin yet...) Once there was a base foundation of getting things covered, the spray process was started. Covering things still continued well into the apply process, as can be seen from the next series of pictures.

